SHARE
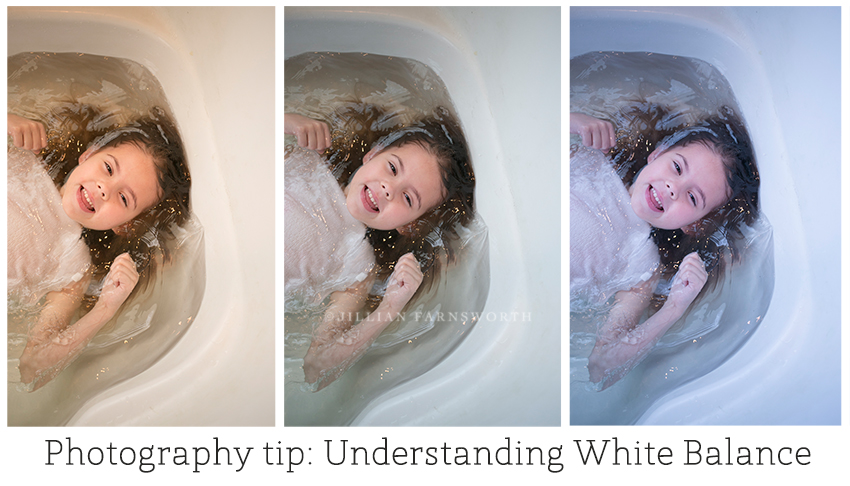
Hey friends! Have you ever taken a picture where the color just seemed so off? Maybe your friends blond hair looks like it has a blue or green tone to it? Or the pictures you took of your baby in the bathtub looked yellow? This happened to me a lot when I first started using my DSLr seven years ago and I had no idea what was going on! It can be so frustrating for new photographers.
What causes this problem? It’s a little thing called WHITE BALANCE and it’s extremely easy to fix. The trick is knowing your camera and recognizing when adjustments need to be made.
Thank goodness for the day I learned about white balance and that frustrating business was solved! In a nutshell, here’s what you need to know:
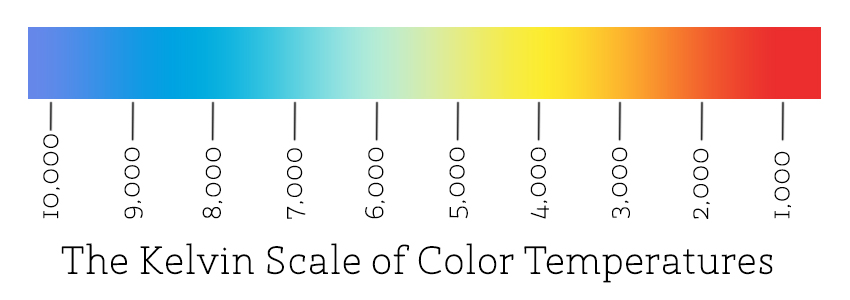
1) Light has temperature. We don’t naturally notice this because our eyes adjust to the differing light temps on their own. However, your camera doesn’t. Your camera in Auto White Balance (or AWB) will do it’s best to interpret the temperature of the light in any given scenario. Often it does a fantastic job!
(Don’t stress out about memorizing the Kelvin Scale, it’s just a little fact for you to file away.)
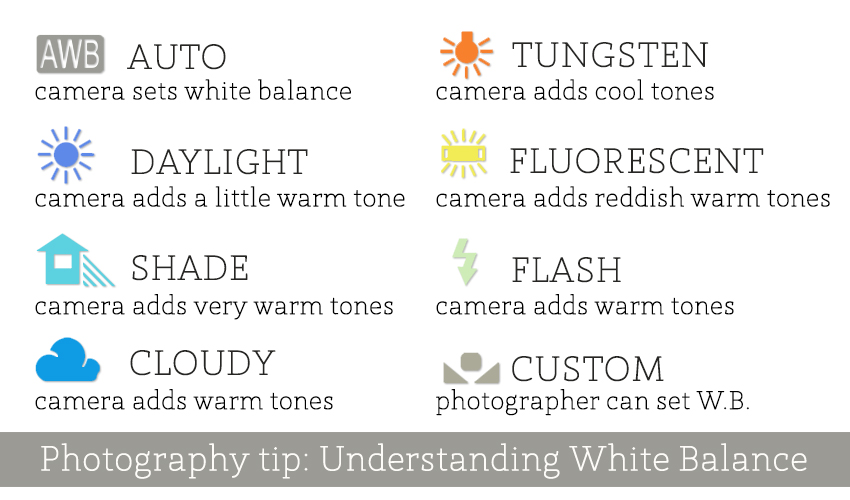
2) There are those times, however, that your camera just can’t seem to get it right. In those times it is important to know where to go and what to do. DSLr cameras have a button or menu where you will be able to edit the WB (white balance) settings. You may need to get out your camera’s manual if it isn’t too obvious. Once you find out how to control the white balance, you’ll need to understand what each of the settings are. The options will be shown with cute little pictures; here’s a definition of what each of those means, as knowing the names and type of light they describe is crucial to helping you choose the appropriate white balance option.
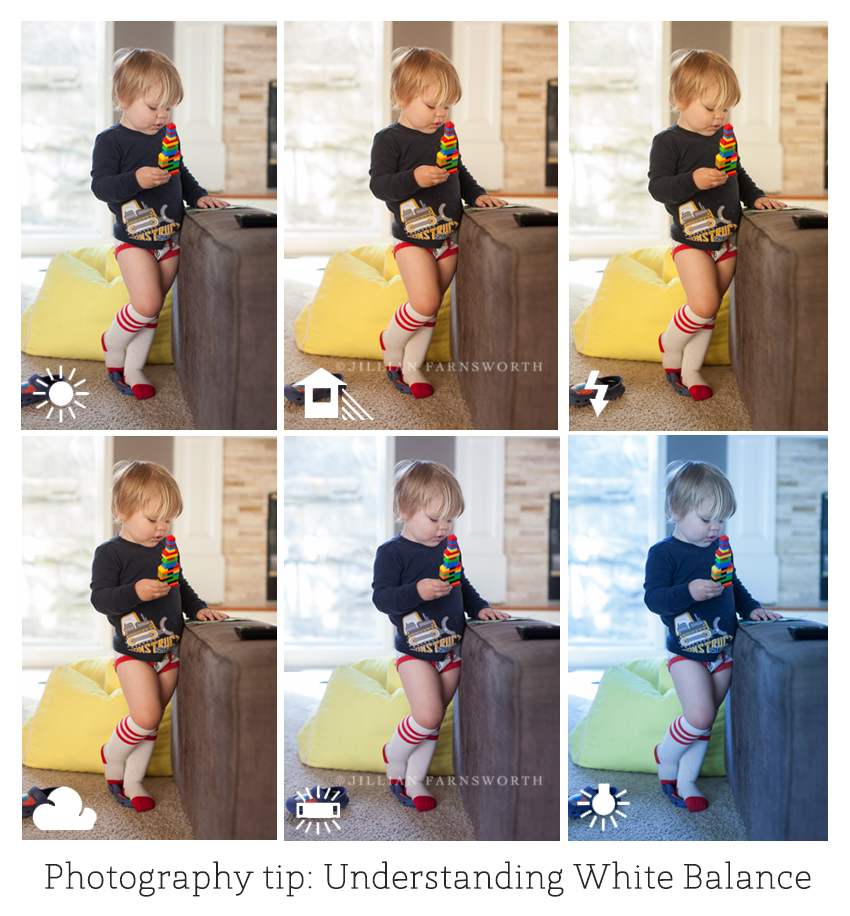
Reading light gets easier with practice. Using AUTO white balance works most of the time. However, there are those times where AUTO doesn’t cut it. When that happens, you need to figure out the white balance on your own. Sometimes, it is unclear which setting the WB should be on. In those situations, test out a few of the WB settings to see which one you like best. I recommend always taking some test shots before you get started. It’s a good habit to get into. After testing, review the images on your display screen and decide which you like best. Next, set it and keep it there until the lighting scene changes.
I hope this was helpful! Please let me know what you think in the comments. Also, if you are interested in other tips like this one, check my “workshops” tab above or click here. I am offering three workshops early this year around the state of Missouri. The Joplin area workshop is this Saturday, January 16, 2016! Go sign up before it’s too late! There are also upcoming workshops in Kansas City (February 20, 2016) and Saint Louis (March 26, 2016). I will not be offering them again until 2017! The class covers how to use your camera in manual mode and take control over your photographs. That fancy DSLr of yours is amazing…you owe it to yourself to find out how to get the most of it by taking my workshop 🙂
